
How to Install a Freeze Miser on Your Outdoor Faucet (Step-by-Step)
When temperatures drop below freezing, an unprotected outdoor faucet can quickly become a costly problem. Frozen pipes, cracked hose bibs, and water damage are common winter issues for homeowners, farmers, and property managers across the USA. A Freeze Miser Outdoor Faucet Protector offers a simple, automatic way to keep outdoor faucets flowing and reduce the risk of freeze damage without leaving taps running all winter.
Best Float Valve has long specialized in practical water solutions for farms, livestock operations, and rural properties, and now also offers the Freeze Miser freeze protection valve to make outdoor faucet freeze protection straightforward and reliable. This step-by-step guide walks you through how to install a Freeze Miser on your outdoor faucet correctly, so you can set it once and let it protect your faucet all season.
If you prefer to go straight to the product, you can view the Freeze Miser Outdoor Faucet Protector on the Best Float Valve store here.
What Is a Freeze Miser and Why Use It?
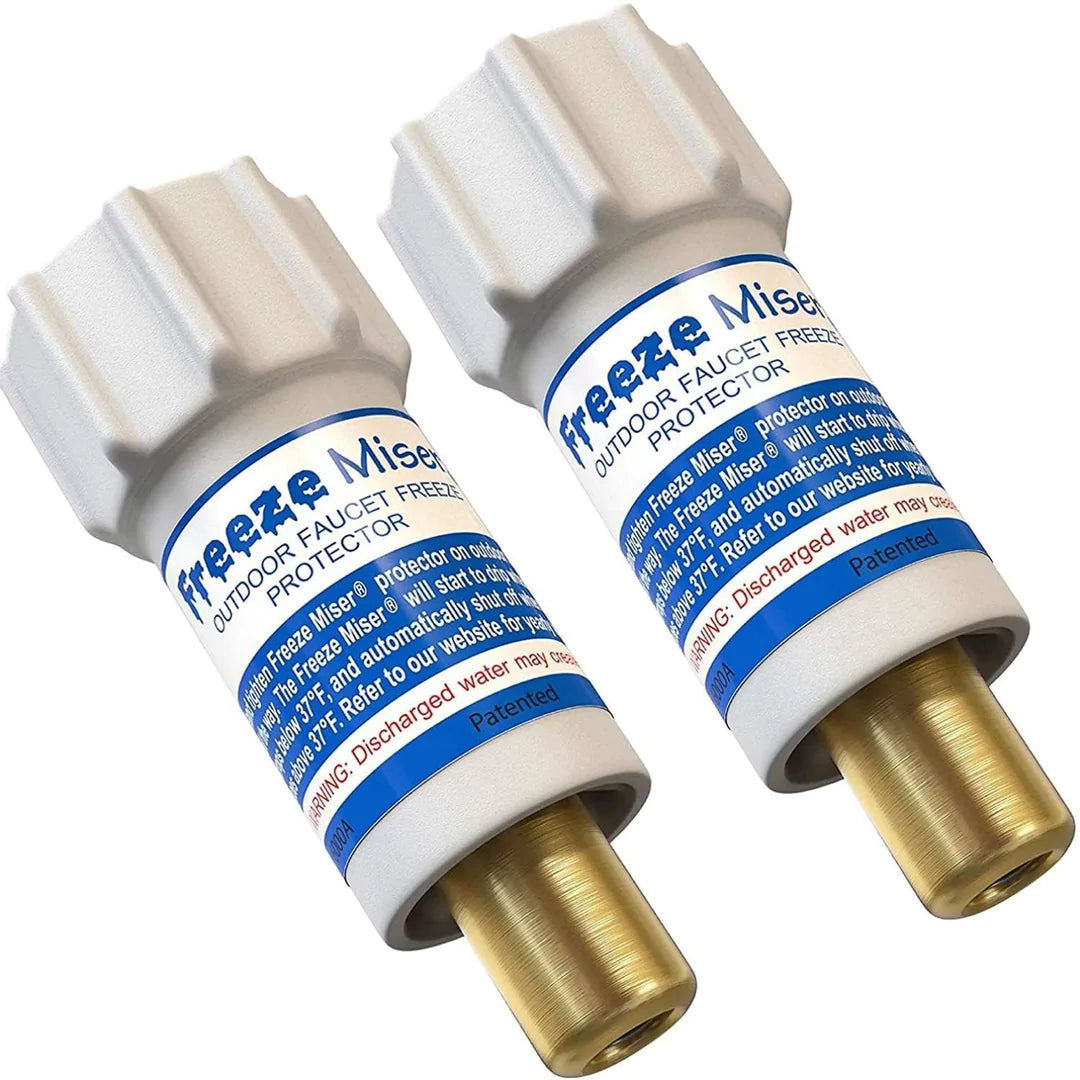
A Freeze Miser is a patented, automatic freeze protection valve designed to protect outdoor faucets and exposed plumbing by releasing a minimal amount of water only when needed. Unlike the traditional “leave the faucet dripping all night” method, the Freeze Miser senses internal water temperature and begins to drip only when the water temperature drops to around 37°F (about 3°C).
Key benefits include:
- It threads directly onto an outdoor faucet, hose connection, or RV water inlet.
- It activates only when internal water temperature reaches approximately 37°F, providing targeted outdoor faucet freeze protection.
- It automatically regulates the drip rate to use the least amount of water necessary to prevent freezing, even in extreme cold.
Best Float Valve notes that the Freeze Miser can also be attached to hoses up to 150 feet long and used to drip into livestock tanks, offering flexible freeze protection for different outdoor water setups. They also carry two-packs and optional Y-adapters with shutoff valves to extend functionality at a single faucet.
You can explore more freeze protection options and livestock water solutions on the Best Float Valve homepage.
What You Need Before You Start
Before installing your Freeze Miser Outdoor Faucet Protector, gather a few basic items and confirm your faucet is ready:
- A Freeze Miser unit (or 2-pack if protecting multiple faucets).
- Optional Y-adapter with shutoff valve if you want to keep using the faucet while it’s protected.
- Working outdoor faucet with no leaks or structural damage.
- Water supply that can provide at least 10 psi of pressure (most municipal and well systems easily meet this).
- A small bucket or container for testing, if desired.
Make sure any hoses, timers, or accessories you will not be using during winter are removed from the faucet. This helps the Freeze Miser sense water temperature properly and reduces stress on the faucet.
Step-by-Step: How to Install a Freeze Miser on Your Outdoor Faucet
Step 1: Inspect and Prepare the Outdoor Faucet
Start by visually inspecting your outdoor faucet (hose bib). Look for:
- Cracks in the metal or body
- Existing leaks around the handle or spout
- Corrosion or damaged threads
If the faucet is already compromised, consider having it repaired or replaced before installing any freeze protection valve, including the Freeze Miser. Protecting a structurally damaged faucet may not fully prevent leaks or failures once freezing conditions arrive.
Remove any hoses, splitters, or other attachments currently connected to the faucet so you have a clean, unobstructed threaded outlet to work with.
Step 2: Thread the Freeze Miser Onto the Faucet
Take your Freeze Miser out of the package and align its threaded end with the threads on your outdoor faucet.
- Hand-tighten the Freeze Miser clockwise onto the faucet until it is snug.
- Do not use pliers or a wrench; overtightening can damage threads or the device.
- Ensure the connection feels secure without wobbling.
Because the Freeze Miser is designed as a Freeze Miser Outdoor Faucet Protector, it is meant to be left installed throughout the season once properly tightened.
Step 3: Turn the Faucet Fully On
Next, open the faucet all the way so water is available to the Freeze Miser.
- Turn the faucet handle to the full “on” position.
- The Freeze Miser requires at least about 10 psi of static water pressure to function correctly, which typical home and farm water systems provide.
- With temperatures above freezing, you should not see continuous dripping from the Freeze Miser—that only happens when the internal water temperature falls to around 37°F.
This “faucet fully open, Freeze Miser in control” setup is what allows you to set it once and leave it for the winter season.
Step 4: Optional – Install a Y-Adapter for Extra Functionality
If you want to keep using the faucet for hoses or other connections while still benefiting from automatic outdoor faucet freeze protection, Best Float Valve offers a Y-adapter with shutoff valves that can be used along with the Freeze Miser.
A common setup is:
- Faucet → Y-adapter
- One leg of the Y-adapter → Freeze Miser
- Other leg → Garden hose or livestock tank supply, with its own shutoff
This lets the Freeze Miser protect the faucet while you still have controlled access to water for other tasks.
Step 5: Test the Freeze Miser Before the Cold Season
Best Float Valve and the Freeze Miser manufacturer both recommend a simple test before winter:
- Place the Freeze Miser in a household freezer for several hours so the internal components reach below activation temperature.
- Quickly thread it onto an outdoor faucet and turn the faucet on fully.
- As the internal temperature warms, water should discharge from the Freeze Miser briefly and then stop once the internal temperature is back above about 37°F.
This confirms that the valve is operating and responding to temperature changes as intended.
Step 6: Important Usage and Safety Notes
To keep your Freeze Miser Outdoor Faucet Protector working correctly:
- Do not wrap, insulate, or cover the Freeze Miser itself; this can interfere with temperature sensing and void the warranty.
- Leave the Freeze Miser exposed so it can respond to changing conditions.
- Remember that the device is designed to protect the faucet and immediate area; the manufacturer notes it is not warranted to protect the entire piping system.
- Keep the faucet turned on for as long as you need outdoor faucet freeze protection—turning the faucet off disables protection.
You can review full product details and purchase options on the Best Float Valve product page.
Best Practices for Outdoor Faucet Freeze Protection
To get the most from your Freeze Miser and reduce winter plumbing risks:
- Use one Freeze Miser per vulnerable outdoor faucet or hose connection you want to protect.
- Drain and disconnect long hoses that are not needed; if you protect a hose run, ensure its route will not trap standing water where it can still freeze.
- Combine the Freeze Miser with other good winterization habits—such as insulating indoor pipes near exterior walls—for comprehensive protection.
Best Float Valve has additional education on freeze protection valves and outdoor plumbing tips in its blog, including how the Freeze Miser compares to traditional methods. You can access these resources from the main site.
Best Float Valve
- Phone: 859-878-2378
- American Made – Kentucky-based operations
- Email: will@bestfloatvalve.com
FAQs About Freeze Miser and Outdoor Faucet Protection
Q1. What exactly does the Freeze Miser do?
The Freeze Miser is an automatic freeze protection valve that senses internal water temperature and begins to drip only when that temperature drops to around 37°F, helping prevent faucets and nearby plumbing from freezing while using far less water than a constant drip.
Q2. Do I still need styrofoam faucet covers if I use a Freeze Miser?
The Freeze Miser is designed to provide outdoor faucet freeze protection by controlling water flow based on temperature, and the manufacturer specifically warns not to wrap or insulate the device itself. Most users rely on the Freeze Miser alone for faucet protection rather than combining it with traditional covers.
Q3. Will the Freeze Miser waste a lot of water?
No. Unlike leaving a faucet running all night, the Freeze Miser is engineered to release only the minimal amount of water needed to keep the internal temperature above freezing, automatically adjusting flow as temperatures change.
Q4. Can I use the Freeze Miser on hoses or livestock tanks?
Yes. Best Float Valve notes that the Freeze Miser can be attached to outdoor faucets, hoses up to about 150 feet long, and even used to drip into livestock tanks as part of a winter watering strategy. Just make sure you follow all installation and pressure guidelines.
Q5. Where can I buy a Freeze Miser Outdoor Faucet Protector online?
You can purchase the Freeze Miser Outdoor Faucet Protector directly from Best Float Valve’s online store here including bundle options and compatible accessories.
Conclusion
Installing a Freeze Miser on your outdoor faucet is one of the simplest, most reliable ways to add automatic outdoor faucet freeze protection to your property. With just a few straightforward steps—threading the device onto the faucet, turning the water on fully, and confirming operation—you can reduce the risk of frozen faucets and pipe damage throughout the winter.
Backed by Best Float Valve’s experience in water control solutions and supported by clear manufacturer guidance, the Freeze Miser offers a practical, thermostat-like approach to protecting exposed water points in cold weather. Set it up correctly once, and it will quietly work in the background every time the temperature drops.


Please upload banner from store admin blog pages

)